brown-butter honey pie!

This pie is one that I’ve come back to again and again; I love it for its intense flavor and simple aesthetics. It’s unapologetically sweet yet balanced—the browned butter and a bit of sea salt round out the honey flavor, and the custard pairs so nicely with a flakey crust.

In Maine, I really enjoyed using the QI Chai honey from Zen Bear Honey Teas with this recipe, and have sadly just run out of my last jar…that is to say, I’d absolutely recommend experimenting with different honeys that you come across! And, if honey is a bit too much for your taste, you can swap out up to 1/2 the amount called for with Lyle’s Golden syrup…this is in fact my preference!

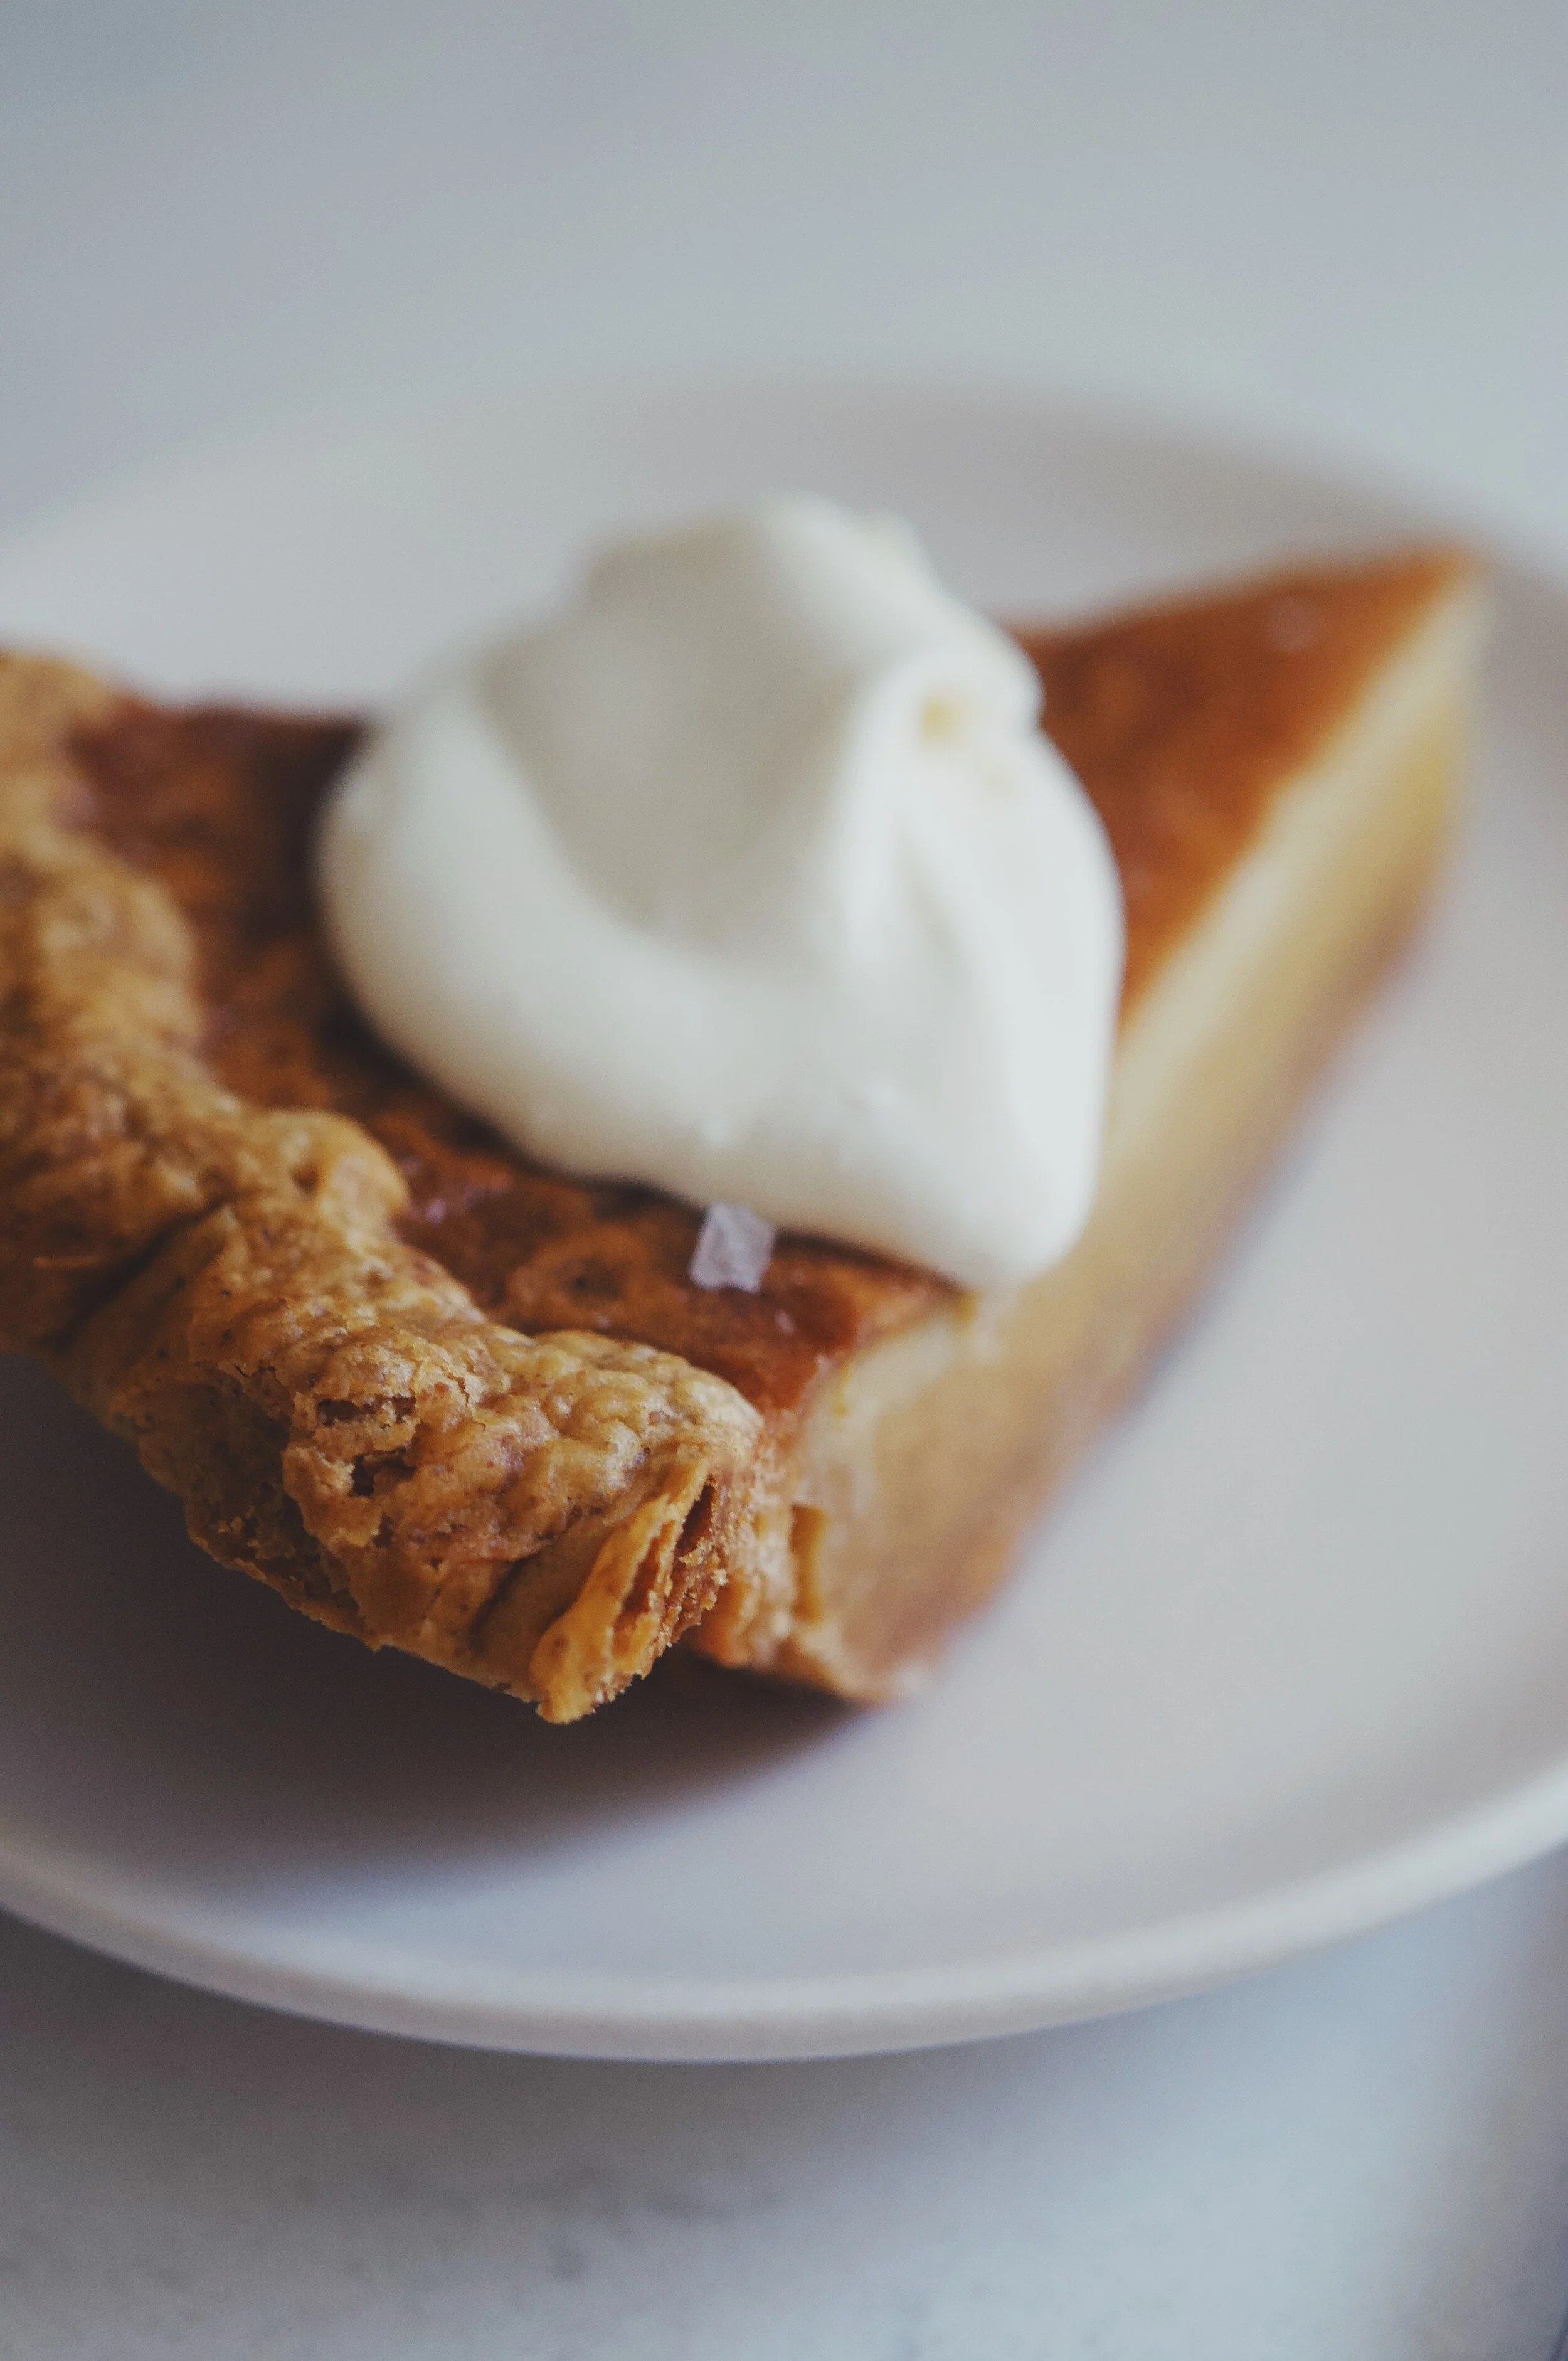
Last note; this pie is really lovely on its own with a dollop of whipped cream or mascarpone, but adding a fruit compote alongside would be nice as well!

13C51D5A-CBFD-43B2-9611-A1671771030A.JPG

Brown Butter Honey Pie

3DBB46F3-C657-47CE-93FA-A0CDFF320CB5.JPG

yields enough for 2 9” pies -or- 1 generously filled 9” pie + 1 6 oz pudding ramekin

  • Pie crust(s), blind-baked & cooled

  • 3/4 c (170 g) unsalted butter

  • 3/4 c (255 g) honey (or…swap in up to 1/2 c Lyle’s Golden Syrup)

  • 1 vanilla bean’s seeds

  • 1 c (200 g) sugar

  • 2 T (15 g) AP flour

  • 1 t salt

  • 5 eggs

  • 1 c (240 g) heavy cream

  • Flaky sea salt for topping

Directions:

  1. Once your pie shell(s) are blind-baked and cooled, make the filling:

  2. Start with browning the butter—melt the butter in a saucepan over medium heat and allow to simmer and foam. As the foam subsides, watch for it to turn golden and then brown, about 8-10 minutes. Once it turns brown, it’s moments away from burning–so, quickly take off the heat, add the honey and vanilla seeds, and stir until it’s dissolved. Let cool about 10 minutes.

  3. Meanwhile, whisk together the sugar, flour, and salt in a medium/large bowl. Add the brown butter mixture and whisk until thoroughly combined. Add the eggs, one at a time, whisking well after each addition. Whisk in the heavy cream and pour into the prepared pie crusts (or crust + ramekin).  Bake for 60-75 minutes, rotating the pie halfway through baking. It’ll be done when it turns deep golden brown on the top; it’ll puff up and set around the edges but will still wobble in the center. Top with flakey sea salt and let cool to room temperature before cutting into it; serve with dollop of whipped cream or mascarpone, fresh fruit or compote, etc…! Store any leftovers in refrigerator!

5B957B9B-56EB-4EE1-BD3F-C36EFF47470D.JPG

pie crust! (pâte brisée)

A pie is only as good as its crust, and I really, really love this one! Not only does the texture bake into crisp flakey-ness, but the taste is buttery, salty, and perfectly complements any sweet filling you could toss into it.

I use a bit of rye flour in addition to all-purpose, because I like the faint earthiness and softness that it adds, but feel free to use 100% all-purpose if that’s what’s on hand or is your preference!

This recipe yields a generous amount, enough for three 9” pie shells or two 9” shells + one lattice/cover. I like to go ahead and line two tins, and then use the combined leftover dough as lattice or as a free-form galette!

1BA6F8FD-8F3A-437A-A286-F52417AED3DA.JPG
photo 1 - mixing stage - before the addition of the yolk/cream mixture, sandy with larger chunks of butter intact

photo 1 - mixing stage - before the addition of the yolk/cream mixture, sandy with larger chunks of butter intact

photo 2 - dough turned out of the mixing bowl, pre-kneading/fraisage

photo 2 - dough turned out of the mixing bowl, pre-kneading/fraisage

pâte brisée

  • 3 c (400 g) AP

  • 1 c (100 g) dark rye flour

  • 2 T (25 g) sugar

  • 2 1/4 t kosher salt

  • 2 c (454 g) unsalted butter, cold and cubed

  • 4 egg yolks

  • 1/4 c + 2 T (90 g) cold heavy cream

Whisk the flours, sugar, and salt together in the bowl of an electric mixer. Add the cold cubes of butter, and mix with the paddle attachment until the butter pieces have broken down a bit, about 3-4 minutes. Make sure you start the mixer on low, and I’d strongly recommend loosely wrapping a kitchen towel around the top of your mixer so the flour won’t escape! After 2 minutes, about half way through this initial mixing period, bump the mixer to medium speed.

Stop the mixer once the dough is shaggy, and larger chunks of butter are still visible (photo 1). Whisk together the cold egg yolks and the heavy cream, and pour all at once into the pie dough. Resume mixing on low/medium speed until the dough has barely come together.

Dump the dough onto a counter top (photo 2), and here’s the fun part! And where the French title is relevant—pâte brisée literally translates to “broken dough”, . Gather the dough (there may still be looser parts that don’t want to hold together, just smush them into the pile as best you can) into a mound and, using the heel of your palm, push down the away-facing side of the dough toward the table (photo 3). You should be able to see any larger remaining bits of butter streak through the dough during this motion. Repeat until the mound is uniformly together, gather it up in a rectangle, and divide into halves (photo 4). Wrap each half in plastic wrap, and refrigerate overnight before rolling.

photo 3 - fraisage!

photo 3 - fraisage!

photo 4 - ready to wrap & chill.

photo 4 - ready to wrap & chill.

D3018EE2-A9EF-46D8-A97C-58B05C64B95C.JPG

Rolling: Before rolling, let the chilled dough sit at room temp for just shy of 10 minutes. Sprinkle your work surface with flour, with more on hand to use as needed. Roll the dough out to 1/8” - 1/4” thinness, and line a 9” pie tin. Trim the edges so that there’s an even 1” overhang (save the scraps), and crimp. As far as crimping goes, I use my right thumb + index finger and left forefinger to push it into a triangular pattern. Prick the bottom of the shell evenly with a fork, and pop the shell in the freezer. Repeat with the second mound of dough.

Compile the overhang scraps together and work into a round, and chill 6 hours (or overnight) before rolling. I like to roll it into a large circle, and freeze it lying flat on a large cutting board—this way it’s rolled and ready to use for a galette, or for cutting into lattice strips.

Blind Bake: Heat the oven to 400 F. Line the frozen pie shell with tin foil, and generously fill with pie weights (or dry beans). I use tin foil because I like being able to gently fold it over the crimped edges, if the edges start getting too dark before the bottom can cook. Immediately place in oven on the lowest rack. Bake for about 15 minutes, until the edges have taken on a hint of color. Take out of oven and let rest, pie weights in tact, for 10 minutes. Reduce the oven to 350 F. Remove the weights and tin foil, and bake again on the lowest rack for 15-20 minutes, or until the bottom of the crust is baked—it should be dry, and a golden color.

If you’re making a pie that will not undergo additional baking, and the finished filling will be added directly, it’s imperative that the crust is well baked, and the base should evenly take on a golden brown color (if the edges start getting too dark, you can gently cover them with tin foil).

If you’re making a pie that will undergo additional baking, it’s all the more important to keep an eye on the edges, to make sure they’re not getting too much color. Again, gently covering them in tin foil works well to protect, but also keep in mind that you can be a little more relaxed about the base being baked through, since it’ll have more time in the oven and you don’t want the edges to burn.

post-weight removal, ready for final blind bake round. note the edges are pale and bottom is not baked through/colored

post-weight removal, ready for final blind bake round. note the edges are pale and bottom is not baked through/colored

completed blind bake and ready for filling!

completed blind bake and ready for filling!